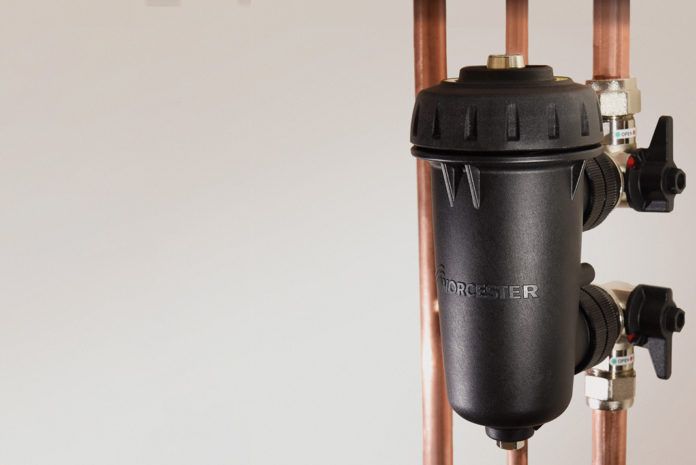
Flushing out a heating system before installing a replacement boiler is a requirement under the UK’s 2005 Building Regulations, but completely new systems and extensions to systems also need to be flushed, cleansed and inhibited. Worcester Bosch’s director of technical communication and product management, Martyn Bridges, provides his advice for maintaining a heating system through flushing and cleansing.
1. Survey the system before you start
Fully surveying the existing heating system before you start will help to identify any radiators that are not working, as well as any hidden areas of the system that need to be considered. In general, you’ll get a better idea of the general condition of the system’s condition, allowing you to use the most beneficial water treatment procedure possible.
2. Follow the code of practice
British Standard 7593 is the code of practice for treating water in domestic hot water central heating systems and states that you must fit a corrosion inhibitor to all wet central heating systems when the system is filled. Additionally, you must flush systems with a chemical cleaner to remove installation debris and flux residues. If you’re working with an older system, flush it with a cleanser using powered assistance, to remove sludge prior to boiler replacement.
3. Don’t take new systems for granted
Even though a system may be new, this doesn’t protect it from potential water quality issues. New systems will begin to show visible magnetite within just one to two days of installation. This contamination can block radiators, inhibiting the heat transfer from the heating system into the household and forcing the boiler to work harder.
With refined components and smaller water passages now commonplace, it doesn’t take a large amount of sediment from an unclean heating system to clog up the waterways in a modern condensing boiler. It is important therefore, to regularly perform a full system cleanse to keep an appliance running efficiently.
4. Remember the radiators
Radiators form an integral part of many heating systems, yet they can be easily overlooked. Cold spots are one of the most regular occurrences, and can sometimes be simply fixed by bleeding the radiator. It is important that you demonstrate to the customer how to perform this procedure as well as how to top the system up if it’s a sealed system, to save both you and your customer from an unnecessary call-out.
5. Fit a system filter
With a wide range of system filters now available, it is important to find the correct one for the heating system that you are working with. For instance, a twin-action system filter captures magnetic and non-magnetic contaminants. As relatively low-cost additions to a heating system, system filters can help to keep costs down in the short term while helping to reap long-term financial savings and increase boiler efficiency.
6. Test the water’s turbidity
Testing the turbidity of the water is a simple way of checking just how clean the heating system is. A turbidity tube can be used to monitor the discharge water from the system, and to ensure that the contaminants have been cleared successfully during the power flushing process. Demonstrating the cleanliness of the water in the system will provide a good incentive for homeowners to make water treatment a regular part of maintaining their heating systems.
7. Choose the correct flush
To prevent a system from becoming lethargic, installers should use either a gravity or a power flush until the contamination has been cleared from the system.
8. Keep the use of oil, grease and flux to a minimum
Oils, grease and flux are regularly used in the installation of a heating system to help join copper pipes and protect metal components. However, these materials should be used sparingly as they can cause damage to a heating system and reduce a boiler’s performance.
